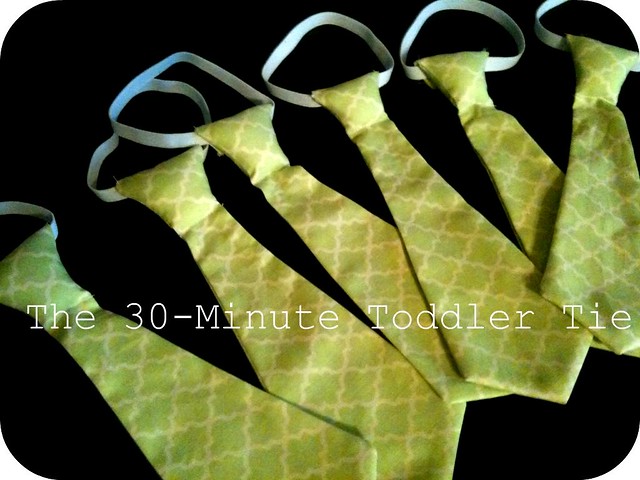
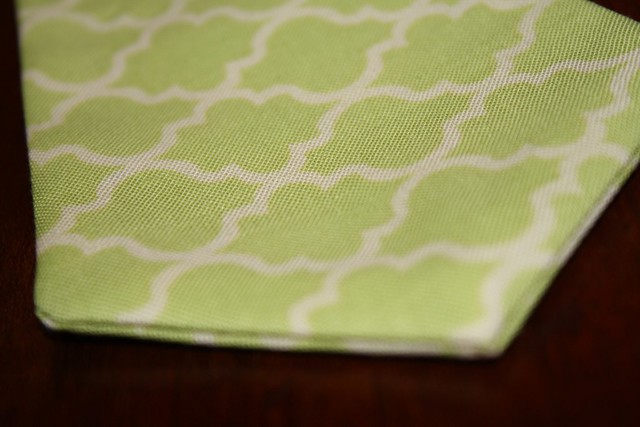
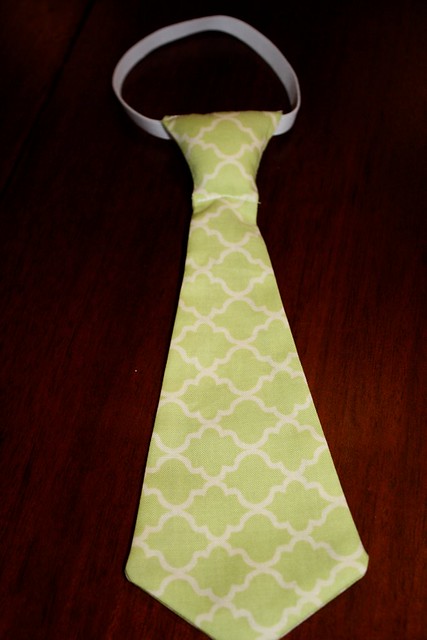
I decided to do this tutorial after looking and looking online for a toddler tie tutorial that was simple and easy for Kinley's Two-Two's and Ties party. There are some great tutorials out there about how to make a toddler tie from an adult tie...but, I did not want to go out and purchase several adult ties. I wanted to be able to save money and make ties from scratch and found the perfect fabric from Hobby Lobby. I don't have a little boy...but, if you do...you need to make these ties. They are super simple and can be made with any cotton fabric to match any outfit. They have an elastic neckline and so they easily fit over a wiggly toddler's head. It took me about 2 hours to make six toddler ties...so, I am deeming this the 30-minute toddler tie. I think they turned out adorable.
What you need:
- About 12" by 6" of fabric for each tie you will make
- 9" - 12" of 3/4" elastic (depending on how big your child's neck is)
- a handful of poly/cotton stuffing
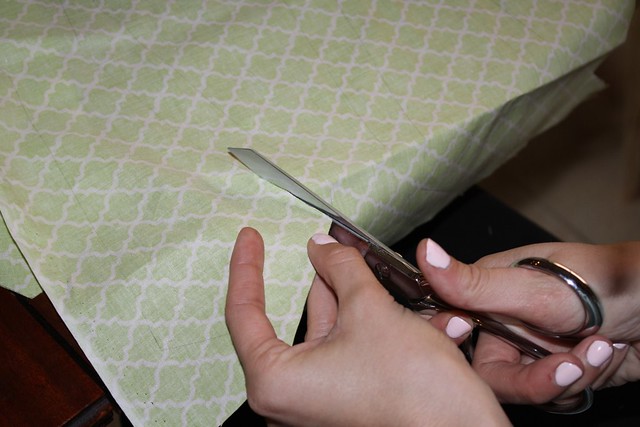
Step 1: Cut out your pattern
My sister-in-law, Mendy, helped me make these ties and we experimented with a few patterns but, decided on this very simple one.
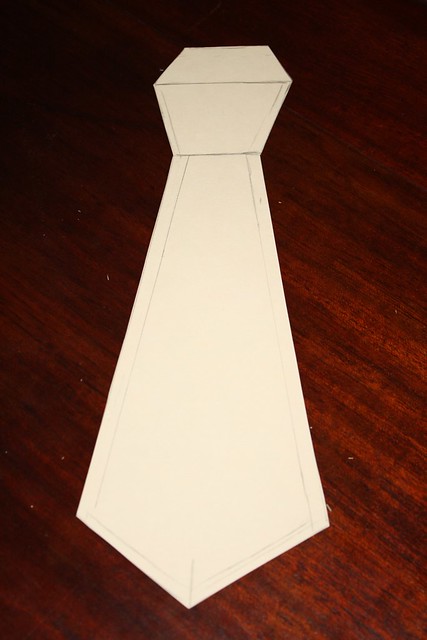
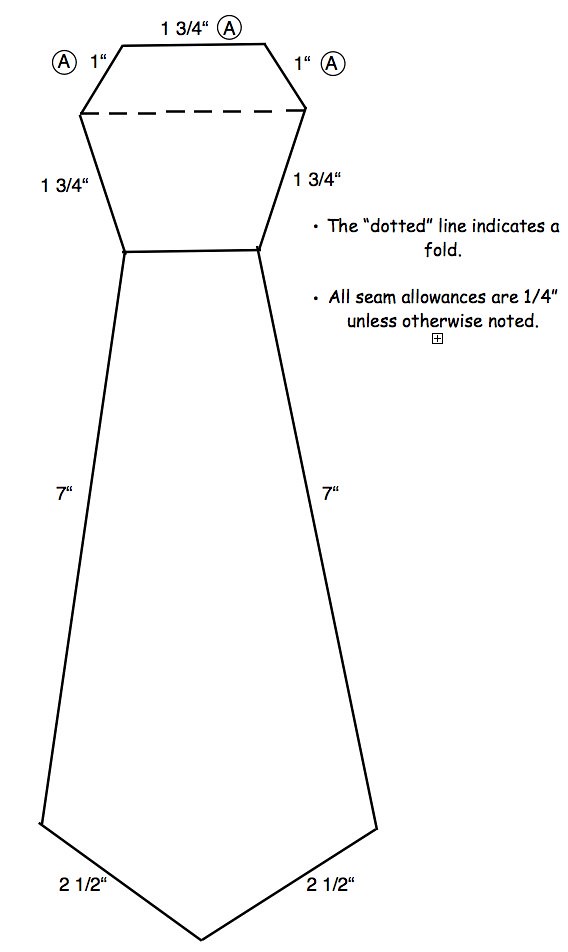
Since, I am not the high-tech blogger that I wish I was...I do not have a pattern to download...but, I did trace my pattern and put down all the dimensions necessary to make these ties.
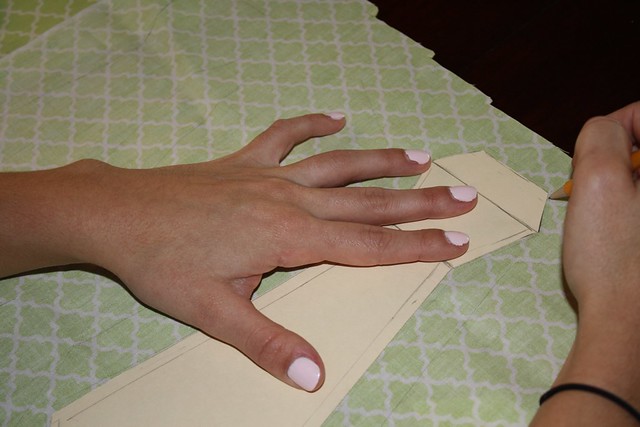
Step 2: Trace and cut out your pattern
Trace and cut out 2 sets your pattern on the back side of your fabric. You can get creative here and use a different pattern for the back of the tie if you want a different pop of color, etc. We stuck with the same fabric front and back.
Step 3: Pin your set of cutouts right sides together.
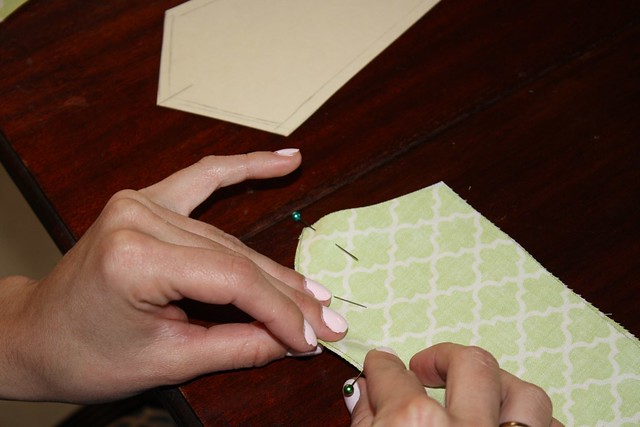
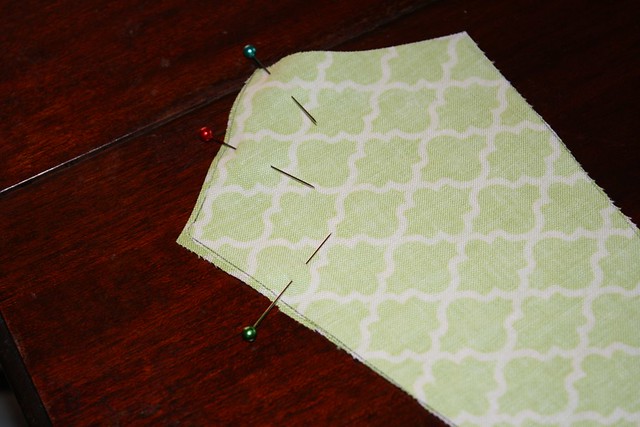
Step 4: Sew together around the entire tie except for the sides labeled 'A' in the picture above.
I used a 3/4" seam allowance around the tie except for up at the top where the knot will be. I used a 1/8" seam allowance there.
Step 5: Turn your tie right-side out and press.
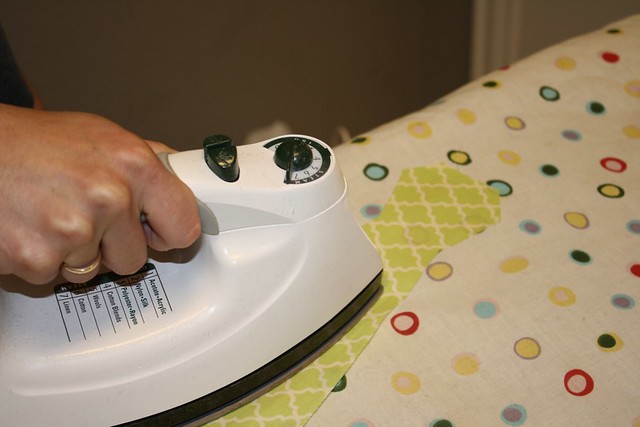
Make sure you get all the corners flipped inside out and pressed nicely. I sometimes use a knitting needle or a dowel rod for the corners.
Step 6: Sew along the line between the knot and the tie part.
This will keep your cotton stuffing inside the knot area.
Step 7: Sew your elastic together end to end, creating a circle.
The length of this elastic is up to you and dependent upon the size of your child's neck and what clothing the tie will be worn with. We used 11" for our ties.
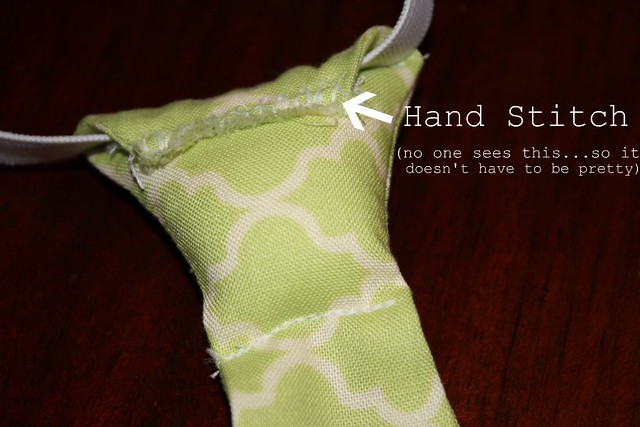
Step 8: Stuff the knot area with cotton/poly blend stuffing.
Step 9: Fold the top part of the knot along the dotted line over your elastic.

Step 10: Hand stitch the folded fabric to the backside of the knot.
I am NOT a hand stitcher and do not enjoy doing it because I am not very steady and it just doesn't look too pretty when I am done. But, this hand stitching is easy. The cotton stuffing makes it very easy to get your needle around the elastic and secure the fabric in place.
3 comments:
Ooohh, I totally might do this for our little boy. Doesn't seem as intimidating as I thought :) Great job, Linds!
Thanks for posting! I am def going to make some for Luke and Asher for Easter! Can you PLEASE give me some of your creative gene?
OMG DYING! So adorable. I wish I knew how to sew. Phrases like "3/4 seam allowance" mean nothing to me. I used to know how to sew. In 8th grade. I made a bag. Maybe I'll get a tutorial from you next time we're in DFW!!
Post a Comment