I am so glad that the D Group t-shirts that I made a couple weeks ago turned out ok because right at the beginning...before I even started screen printing I was totally bummed out when TWO of my five packaged t shirts were defective when I bought them. Of course, I did not learn they were defective until AFTER I already dyed them and could not return them anymore....LESSON #1...always examine all the shirts in your package of T-shirts before you alter them in any way...so you can return them. Duh!
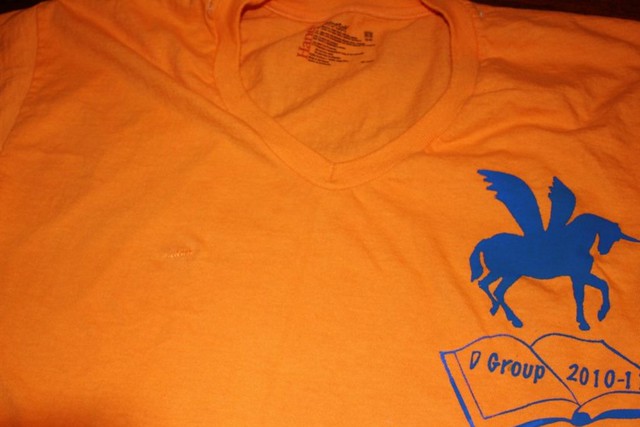
Well, I had to choose 4 shirts from this pack of 5 for my girls so I knew that one of them would either get a t-shirt with a random serged seam awkardly down the front or a shirt with a small hole.


I decided the small hole was more workable and ended up screen printing on that one. I was very nervous about how to patch this hole without ruining the entire shirt. I looked up a few recommendations online which included serging (I dont have a serger), zigzag stitching on your machine, adding a patch to the back and sewing a square around the hole and so on. I really did not think any of them would work very well on this tiny hole and my main goal was to make it unnoticeable.
Well, I had to choose 4 shirts from this pack of 5 for my girls so I knew that one of them would either get a t-shirt with a random serged seam awkardly down the front or a shirt with a small hole.
I decided the small hole was more workable and ended up screen printing on that one. I was very nervous about how to patch this hole without ruining the entire shirt. I looked up a few recommendations online which included serging (I dont have a serger), zigzag stitching on your machine, adding a patch to the back and sewing a square around the hole and so on. I really did not think any of them would work very well on this tiny hole and my main goal was to make it unnoticeable.
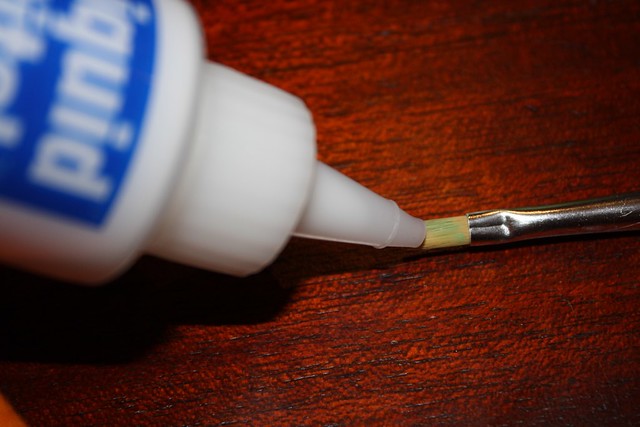
So, I went to Hobby Lobby and gathered up some stuff I thought might be helpful. Liquid Stitch, some Bondex patch repair swatches, and some thread in as close to a coordinating color as possible.

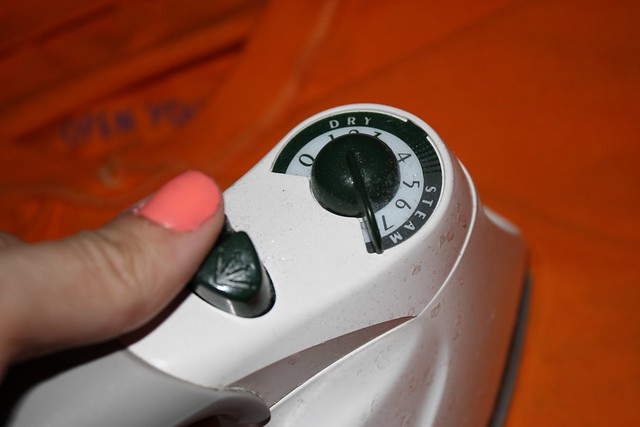
First, I ironed the shirt right on the hole so that it would be flat and shut as close as possible.
Then, I painted on some liquid stitch with a small paintbrush. I let it sit about an hour (not 24 like it says...I am impatient)
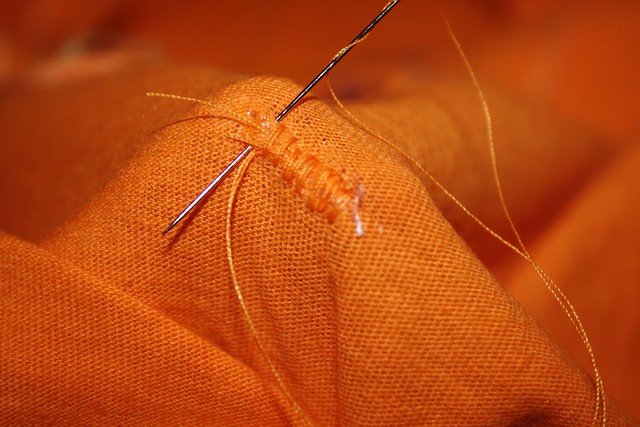
Finally, I handstitched the hole shut. I am not a great hand-stitcher...so, this is tedious to me...but, it was a small hole and did not take long.
Overall, I was happy with how it was patched up and all the girls had to look pretty hard to see which shirt I had patched. It was absolutely no big deal to them and I was thrilled with that!
First, I ironed the shirt right on the hole so that it would be flat and shut as close as possible.
Then, I painted on some liquid stitch with a small paintbrush. I let it sit about an hour (not 24 like it says...I am impatient)
Finally, I handstitched the hole shut. I am not a great hand-stitcher...so, this is tedious to me...but, it was a small hole and did not take long.
Overall, I was happy with how it was patched up and all the girls had to look pretty hard to see which shirt I had patched. It was absolutely no big deal to them and I was thrilled with that!
Hopefully this helps anyone who may get a defective or holey t-shirt in their package of shirts!
No comments:
Post a Comment